How to Get Your Own Cal.com Scheduling System in 15 Minutes: Easy Setup Guide
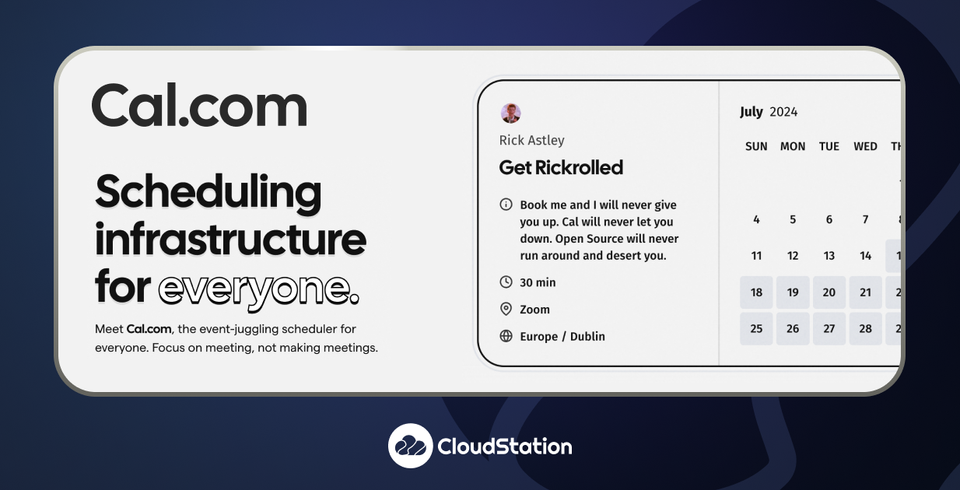
Cal.com is a powerful scheduling platform that integrates with your existing calendar systems to streamline appointment booking. This tutorial will guide you through setting up Cal.com using Cloudstation.
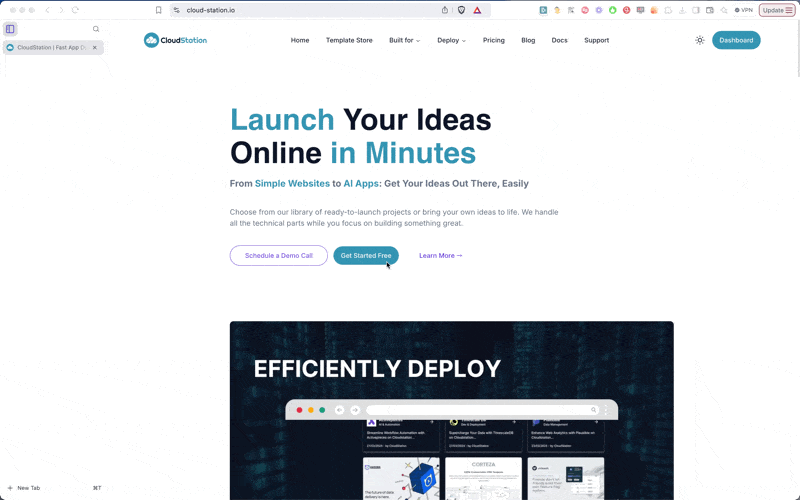
Initial Deployment
- Create or login to your Cloudstation account
- Navigate to the Template store
- Find and select Cal.com from the template list
- Click "Deploy"
Step 1: Initial Account Setup
- Once deployed, visit your Cal.com instance
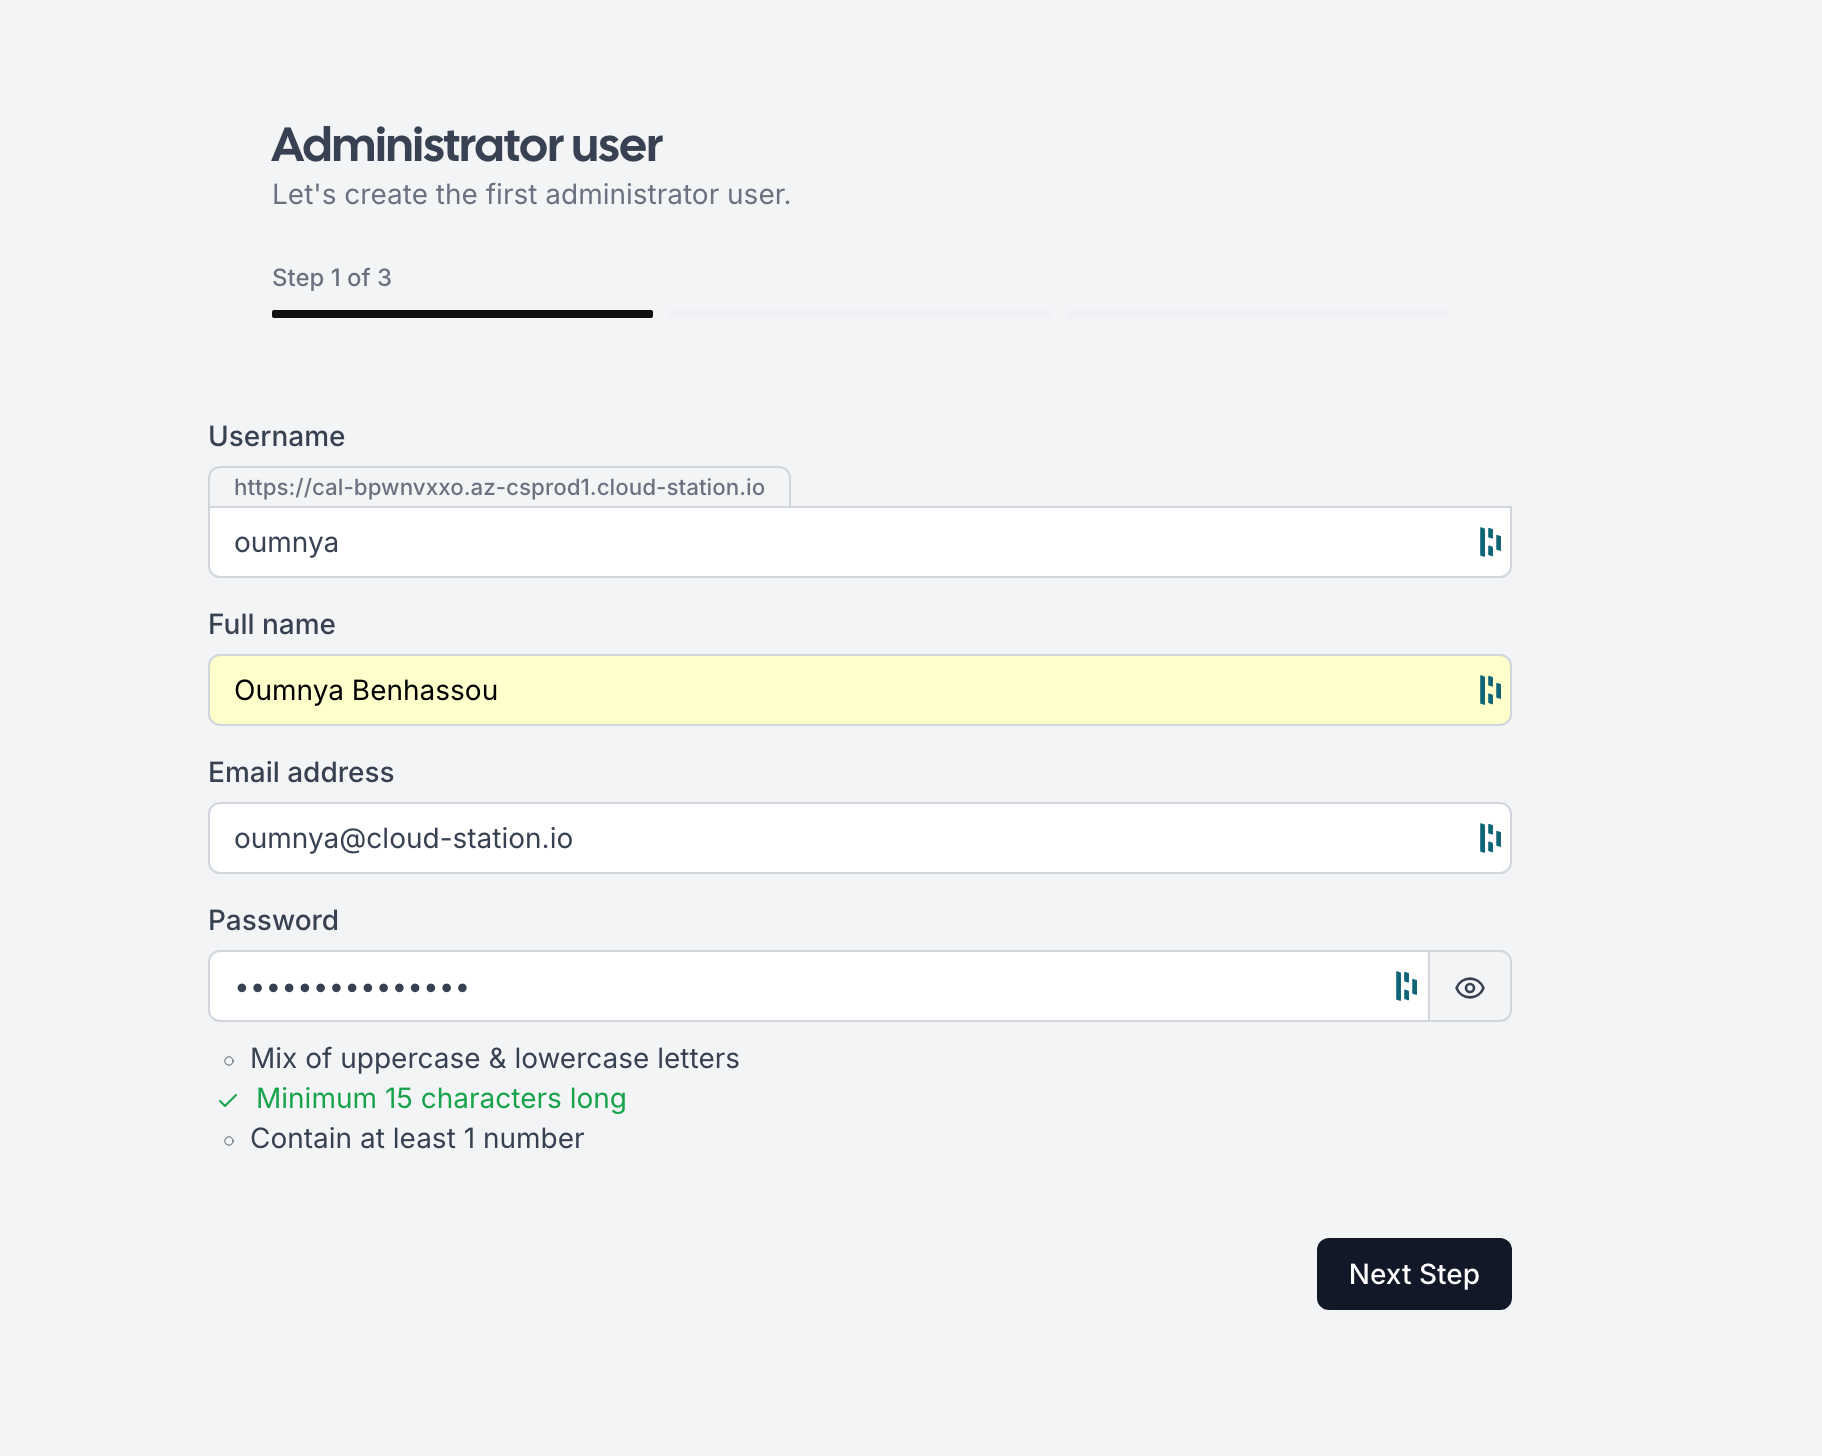
- On the account creation page:
- Fill out the administrative account form with your information
- Click "Next Step"
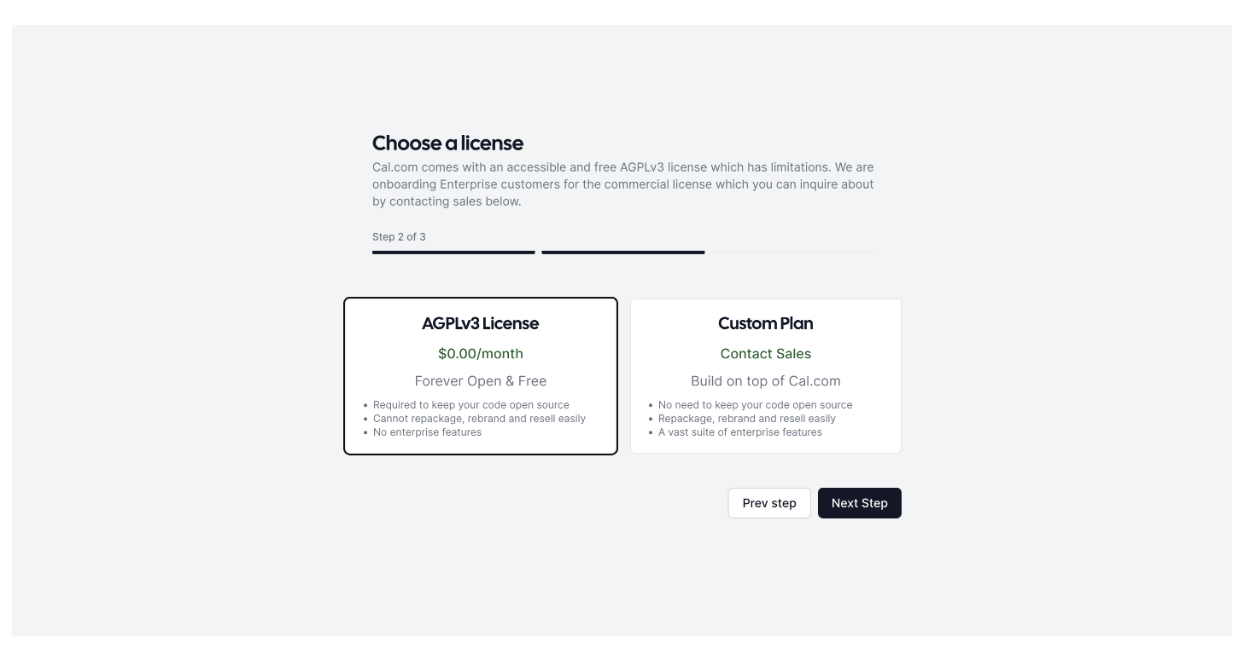
- On the license selection page:
- Select AGPLv3 License
- Click "Next Step"
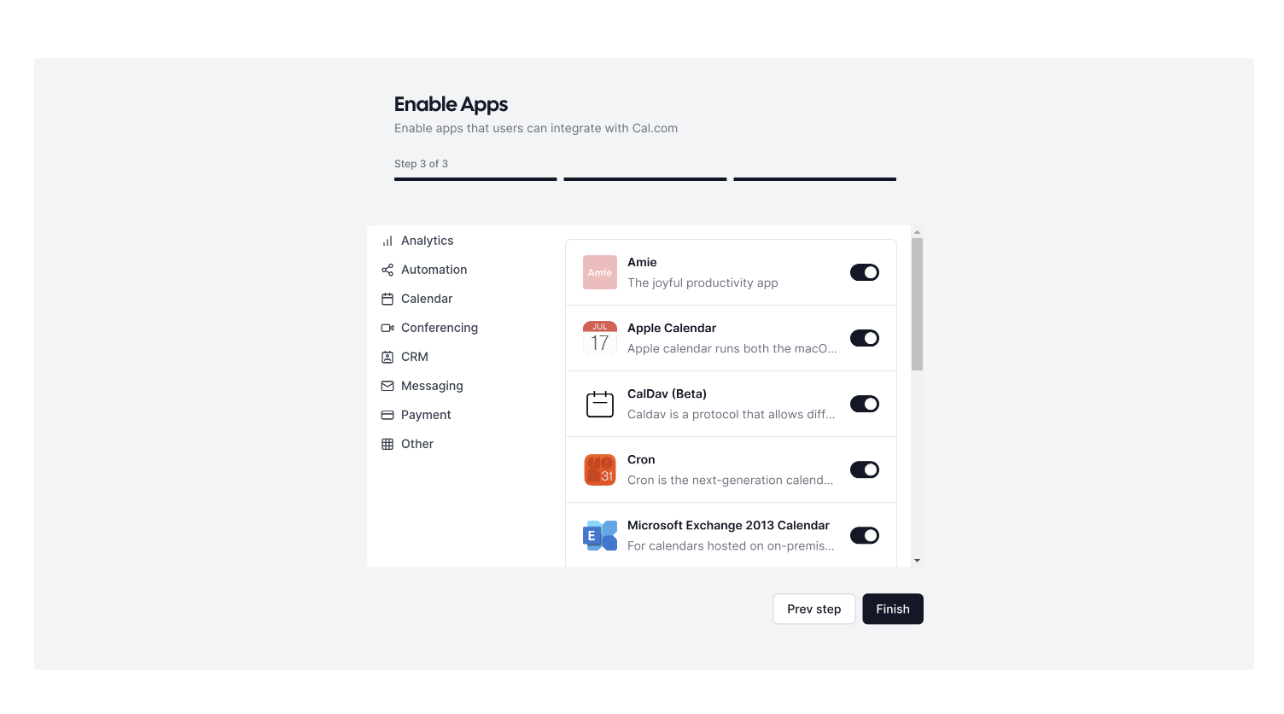
- On the apps page:
- Choose which apps you want to enable
- All apps are selected by default
- Click "Finish"
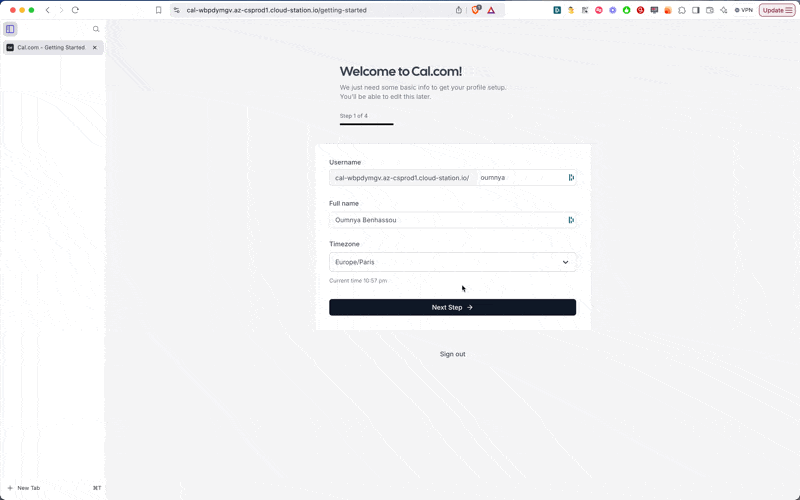
- Complete your profile setup:
- Verify/adjust your timezone
- Click "Next Step"
- Skip calendar connection for now
- Skip video apps setup
- Set your availability windows
- Fill out your profile information
- Click "Finish"
Step 2: Enabling Two-Factor Authentication
- From the dashboard, click "Settings" in the left sidebar
- Select "Two factor auth" under the Security section
- Toggle on two-factor authentication
- Enter your password when prompted
- Scan the QR code with your authenticator app (like Google Authenticator)
- Enter the verification code from your authenticator app
- Save the backup codes securely - you'll need these if you lose access to your authenticator
- Sign out and log back in to complete the process:
- Click your username in the upper left
- Select "Sign out"
- Log back in with your credentials and 2FA code
0:00
/2:13
Step 3: Setting Up Google Calendar Integration
- Visit Google API Console (console.cloud.google.com)
- Create a new project
- Enable Google Calendar API:
- Click "Enable APIs and Services"
- Search for "calendar"
- Select "Google Calendar API"
- Click "Enable"
- Configure OAuth consent screen:
- Select "External"
- Fill in required information:
- App name
- User support email
- Developer contact information
- Add required scopes:
- .../auth/calendar.readonly
- .../auth/calendar.events
- Add your email as a test user
- Create OAuth credentials:
- Go to "Credentials"
- Click "Create Credentials"
- Select "OAuth client ID"
- Choose "Web application"
- Add authorized redirect URIs:
https://your-domain/api/integrations/googlecalendar/callbackhttps://your-domain/api/auth/callback/google
- Download the JSON credentials
- Configure Cal.com with Google credentials:
- Go to your Cloudstation dashboard
- Navigate to your Cal.com variables tab
- Add GOOGLE_API_CREDENTIALS environment variable
- Important: When adding the credentials:Enclose the entire JSON in single quotesThe format should be: GOOGLE_API_CREDENTIALS='{"web":{...}}'
- Paste the entire downloaded JSON content as the value
- Save and redeploy cal
Step 4: Finalizing Calendar Integration
- In Cal.com, go to "Apps" in the left sidebar
- Find and select Google Calendar
- Click "Install App"
- Follow the Google authorization flow:
- Choose your Google account
- Click through the verification warning
- Grant all requested permissions
- Select which calendars to use for availability checking
Testing Your Setup
- Click "View public page" in the left sidebar
- Test the booking process:
- Select a meeting duration
- Choose an available time slot
- Fill in meeting details
- Complete the booking
- Verify the integration works:
- Check for email notifications
- Verify the event appears in Google Calendar
- Check Cal.com dashboard bookings
- Test cancellation:
- Go to "Bookings" in the left sidebar
- Find your test booking
- Click "Cancel"
- Provide a reason
- Verify the cancellation updates in both Cal.com and Google Calendar
Next Steps
Consider configuring:
- Additional calendar integrations
- Video conferencing integrations (Zoom, Google Meet, etc.)
- Customizing your booking page
- Creating different event types
- Setting up team scheduling if needed
Remember to regularly check for updates and maintain your security settings, especially your two-factor authentication backup codes.